
Author: Admin
-

Setting to Enhance Your Story
What is setting? Setting refers to the time and place in which a story takes place, but it can be so much more than that. You can used setting to create a sense of atmosphere and mood. With your setting, you can reveal information about characters and their motivations, and add depth and meaning to…
-

Symbolism: A guide for writers
Symbolism is a powerful tool for a writer, adding depth, evoking emotion, and creating a memorable reading experience. Understanding and using symbolism can elevate your storytelling and help readers connect with your work on a deeper level. This blog post discusses symbolism, what it is, how it works, and how you can use it in…
-

Metaphors in Fiction: A Guide to Painting Pictures with Words
Metaphors are more than a literary device you learned about in high school English class. They can create instant and vivid images in your readers’ minds by directly comparing two unlike things (without using “like” or “as”). They state that something is something else and make surprising, insightful, and interesting connections. For example, if you…
-

Celebrate Brittany Abram’s Winning Design for Mayor’s Greeting Card
Congratulations to Brittany Abram, EMSA Publishing’s in-house graphic artist for winning the mayor of Collingwood’s 2024 Holiday Greeting Card Competition. This is an annual competition in which one image is selected from all entries to be featured on the Mayor’s 2024 holiday card. Acknowledgement of the artist, title and website/social media links will appear on…
-
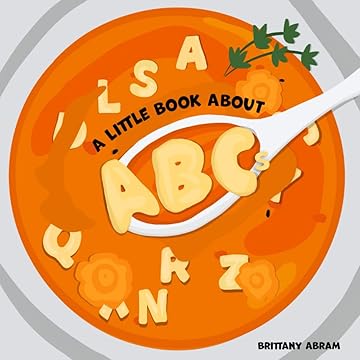
New Release: “A Little Book About ABCs”
EMSA Publishing congratulates Brittany Abram on the release of her gorgeously illustrated book, A Little Book About ABCs. A is for apple, juicy and red. B is for bear, with a cozy coat to keep out the cold. C is for cat, purring soft and sweet. With A Little Book About ABCs, babies, toddlers, and new readers…
-
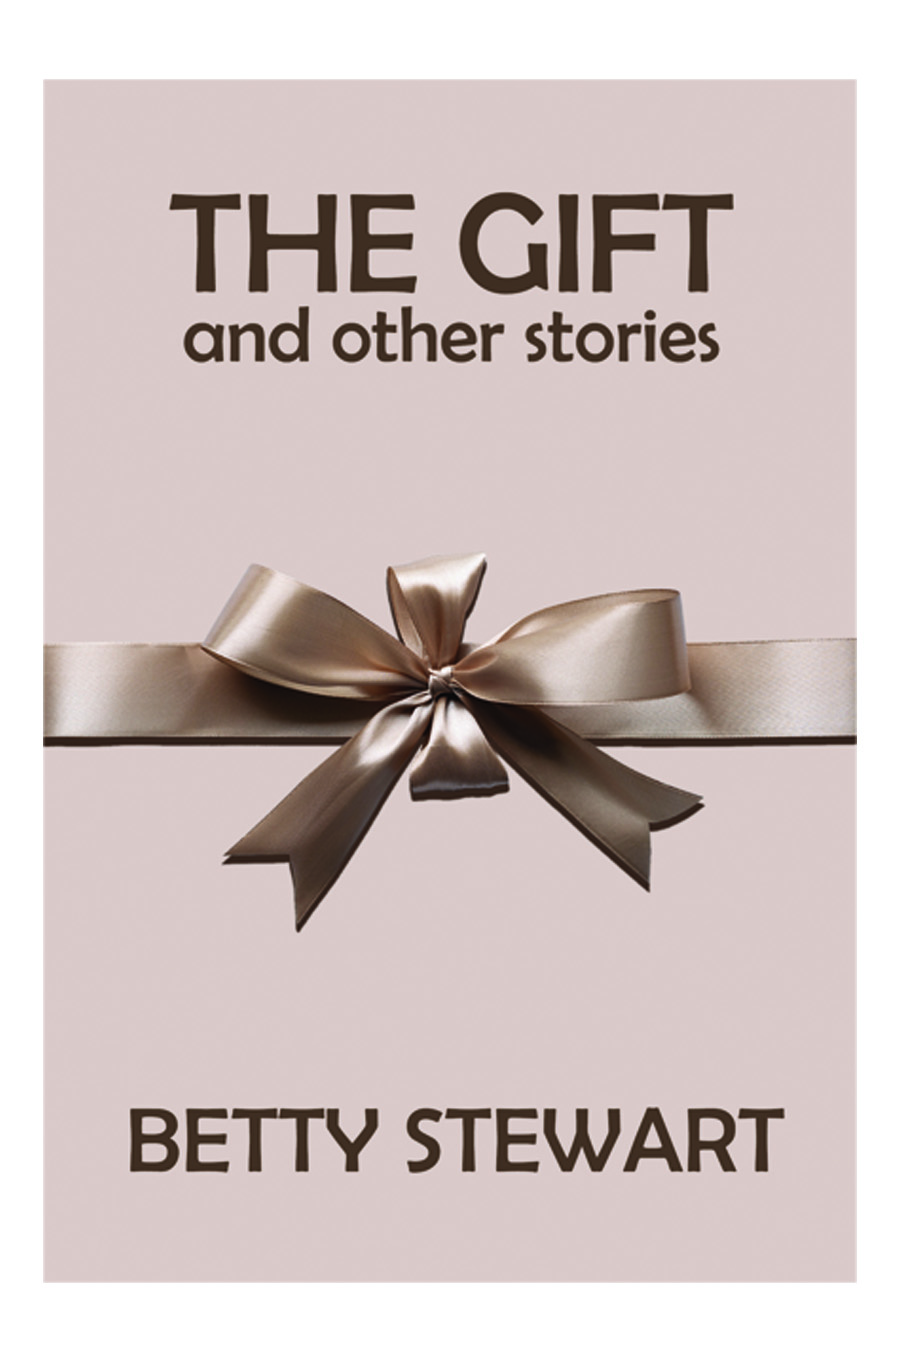
New Release: “The Gift and Other Stories”
EMSA Publishing congratulates Betty Stewart on the release of her first book, The Gift and Other Stories, a collection of short stories. Unwrap life’s unexpected gifts in this compelling anthology of short stories by author Betty Stewart. In “The Gift,” an adopted woman’s life takes a profound turn when she embarks on a journey to…
-
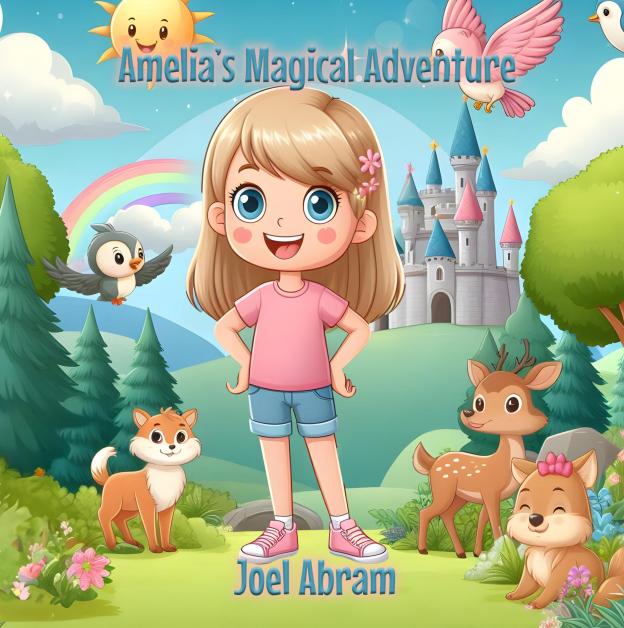
New Release: “Amelia’s Magical Adventure”
Congratulations to Joel Abram on the relase of his latest children’s picture book, Amelia’s Magical Adventure, a delightfully illustrated fantasy. Amelia discovers a magical mirror that transports her to a land filled with towering castles and talking animals. Guided by a kind boy named Jonah, she embarks on a thrilling adventure to uncover secrets about…
-
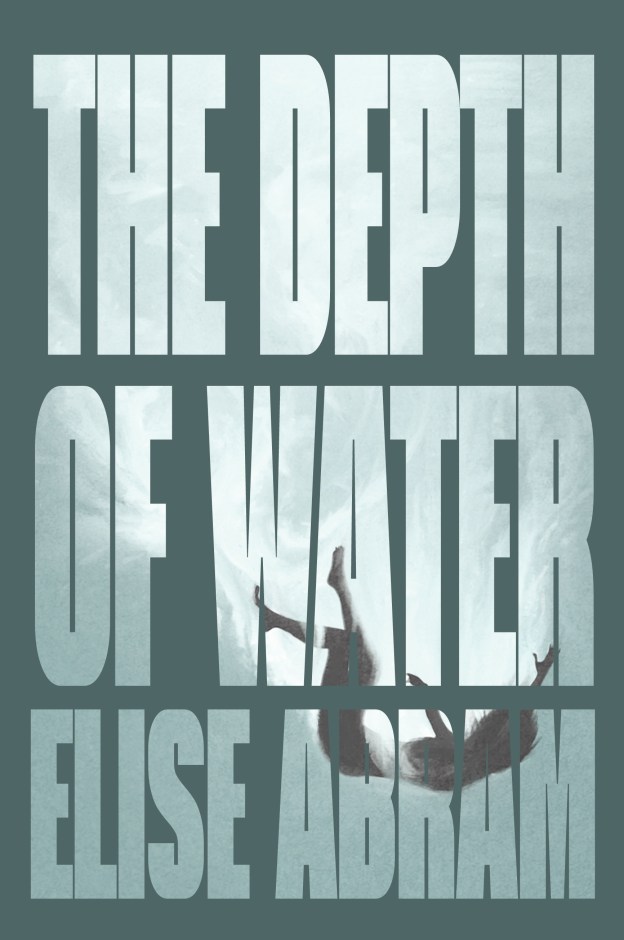
New Release: “The Depth of Water” by Elise Abram
The Depth of Water is a gripping contemporary urban fantasy thriller. Hours after her father drowns, Liesel Drummond sees him in a vision. In it, her father touches the child within her womb and vanishes. Years later, Liesel’s son, Owen, is haunted by an inexplicable fear of water. When he falls into a pool at…
-

New Release: The Integrity Compass by Ben Karenzi
The Integrity Compass: The Path to a Meaningful Life and an Ethical World provides a positive contribution to topical issues of integrity in the workplace, both public and private. In this digital generation, there is an issue of false and/or misleading news and discussions across different media platforms, and there is a critical need for…
-

The power of a strong protagonist
How to create a relatable and compelling main character Your story revolves around the protagonist of a story, also known as the main character. They are the one the readers follow, root for, and care about. To keep your readers interested in your character’s story and keep them reading it is crucial to create a…